Published
06th Feb 2021
by hjiadmin
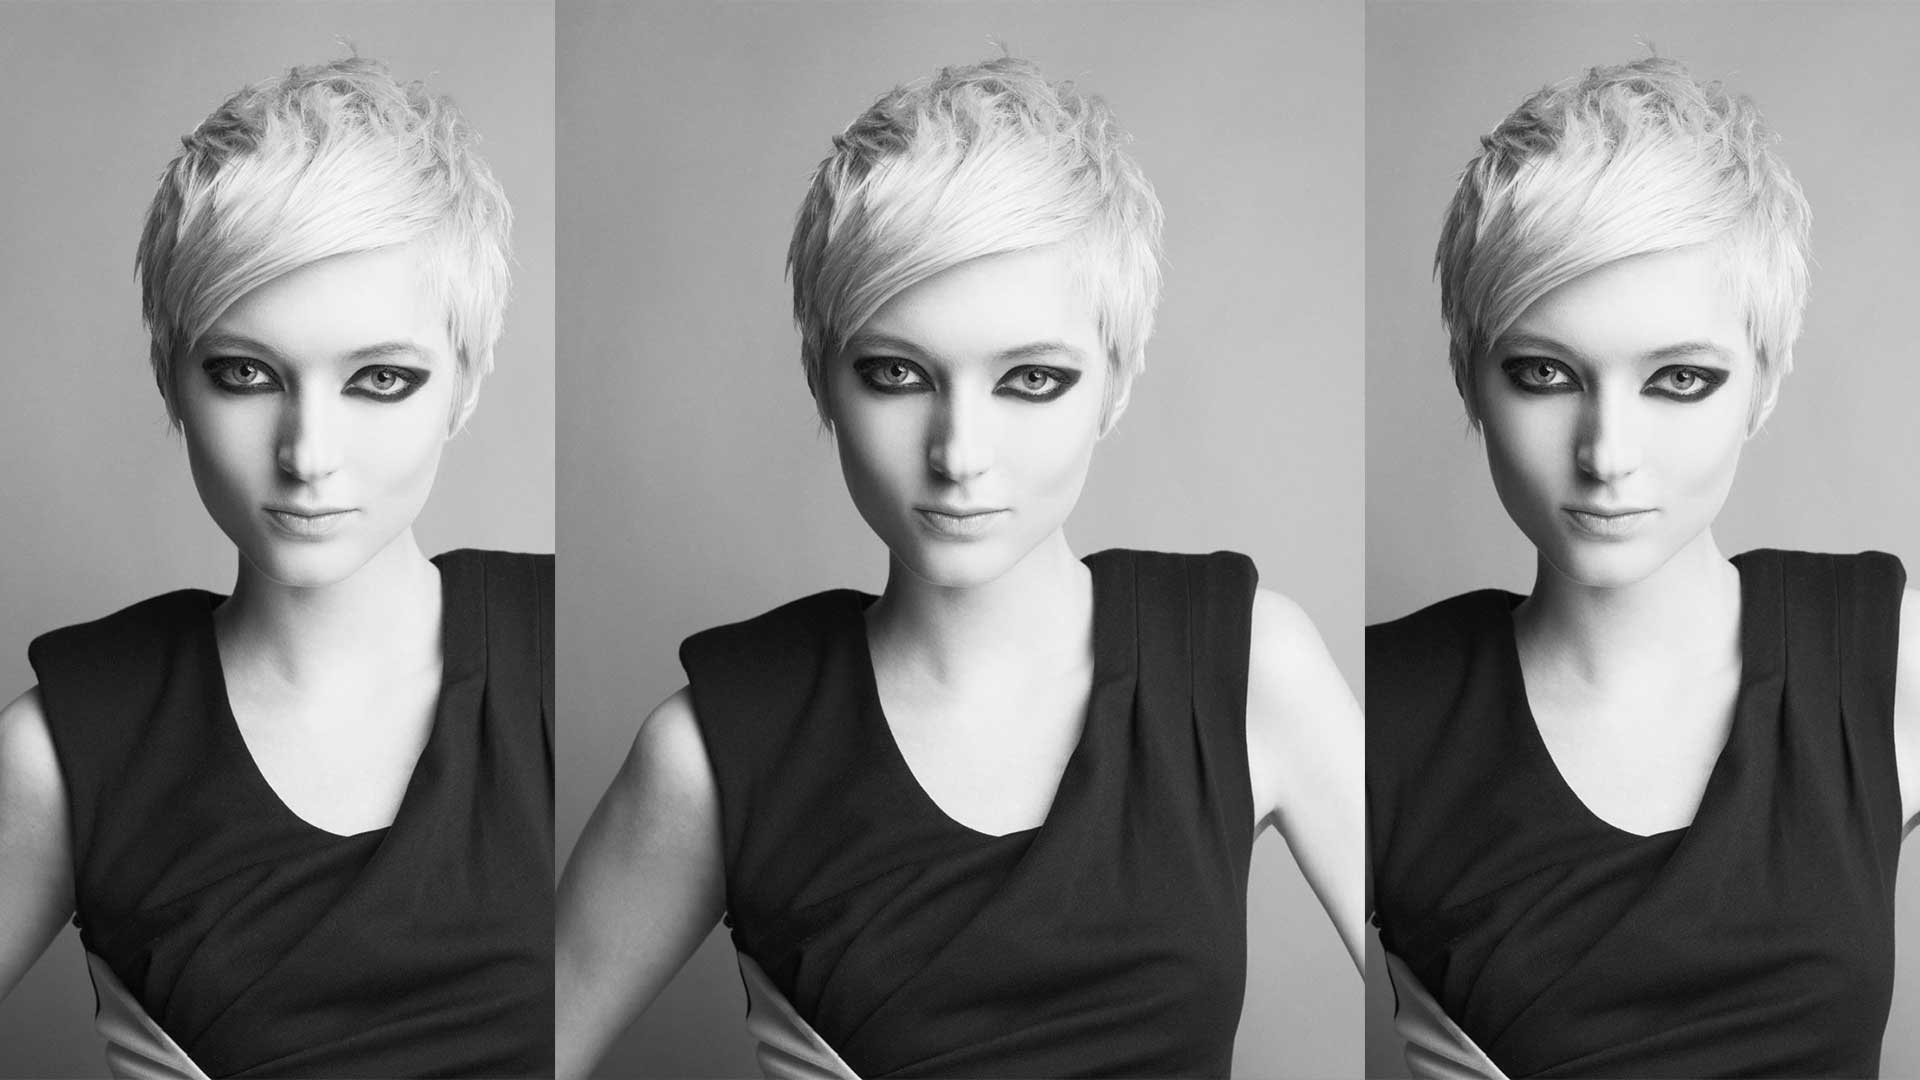
Short graduated layers is a stylish and versatile haircut with layers that gradually increase in length from the shortest at the nape of the neck to longer layers toward the top and front. This timeless cut creates movement, volume, and texture, making it a popular choice for clients looking to add dimension to their hair.
Take a look at this step-by-step from Nick Irwin to help hone your skills...
Short Graduated Layers Step-by-Step
- Take a central profile parting from the forehead down to the nape.
- Start the cut at the front. Comb and elevate the hair at 90 degrees to the head shape and blunt-cut following the curve of the head. Continue working consistently towards the crown using the same technique.
- Note the change of hand position as you work below the crown towards the occipital bone, keep the distribution and elevation at 90 degrees and continue to cut parallel to the head shape.
- Start decreasing the length and transform the layering patten into graduation by changing the hand position.
- Halve the guide with a centre profile parting from the forehead to the nape. Create two horizontal sections from the occipital bone to the ears and graduate the nape area, take slight diagonal forward sections, elevate the hair to 90 degrees and blunt-cut to decrease the length.
- Note the change of hand position and repeat the same technique on the opposite side of the head.
- Take a horseshoe section from below the crown to the high point of the recession area. Continue working with slight diagonal forward sections. Comb and elevate each section to 90 degrees and follow the graduation guideline from the centre and the nape.
- In front of the ear, maintain distribution and elevation and use a diagonal forward section to complete the graduation.
- Take a central vertical parting at the top of the head followed by a radial division from ear to ear across the crown. Using pivoting sections around the crown, comb to 90 degrees and elevate each section to the graduation guideline. Blunt-cut increasing the length towards the top of the head.
- Continue with the same technique, building weight in front of the ear using horizontal sections.
- Overdirect the last two sections back to maintain length within the fringe.
- Note the change of hand and body position; repeat the same technique on the opposite side.
Styling
Power-dry hair, then use a medium round brush to smooth the cuticle. Parallel point-cut to remove weight and add texture, then freehand channel-cut and point-cut for added detail. Finish with hard wax.
Looking for more cuts and styles? Check out the latest here.


