Magazine
Latest Posts
Sponsored Content
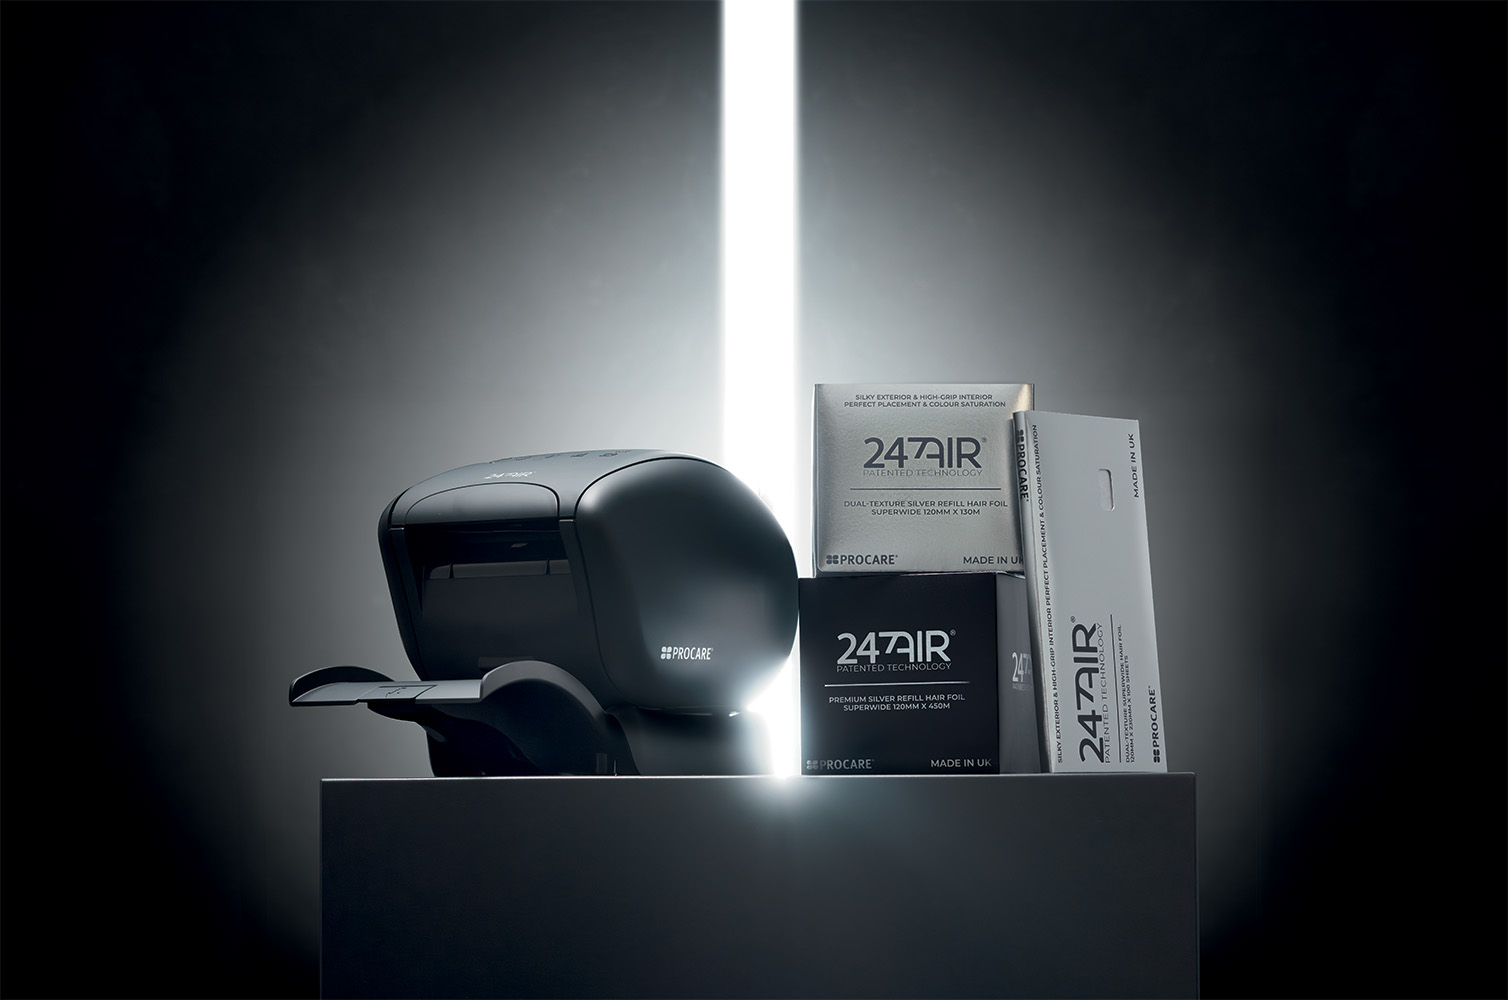
The Future of Foil Dispensing Has Arrived
Industry News
TONI&GUY Global Group Enters New Era
Latest News
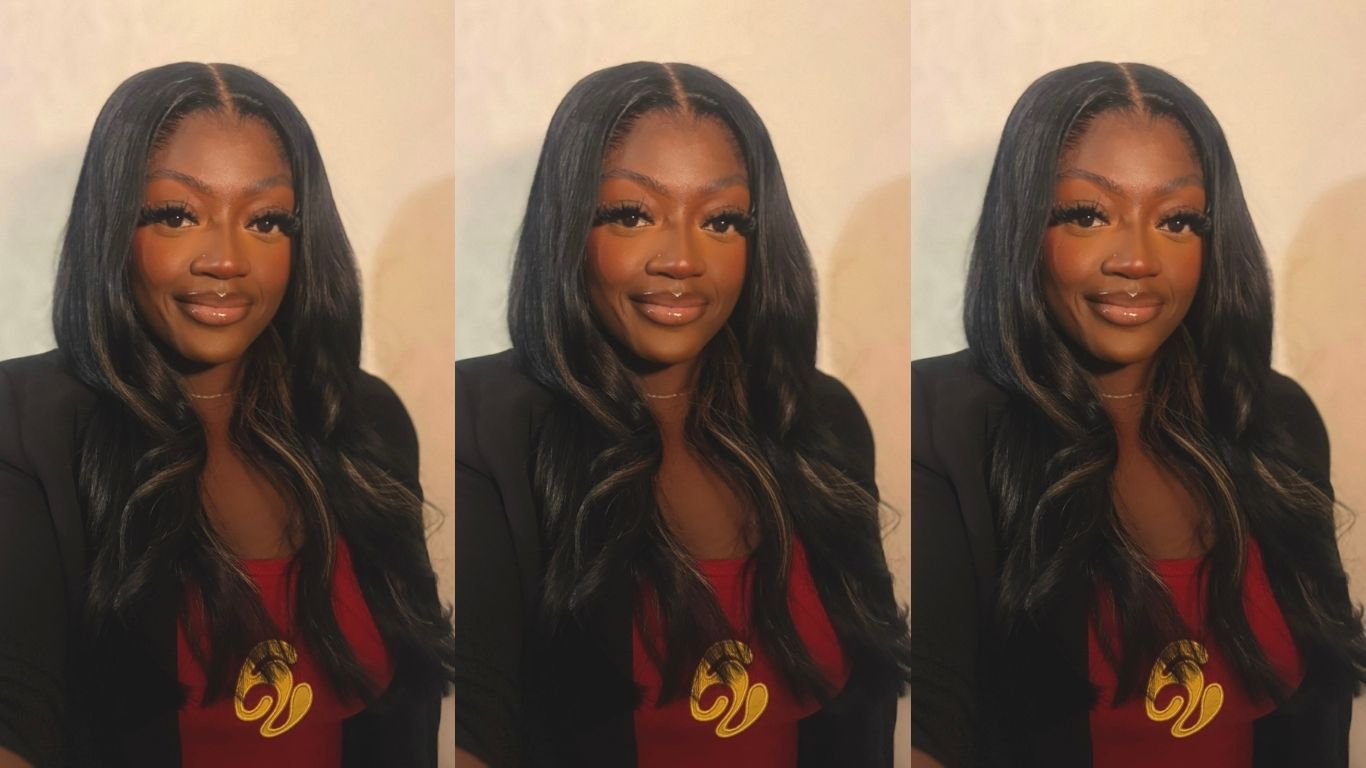
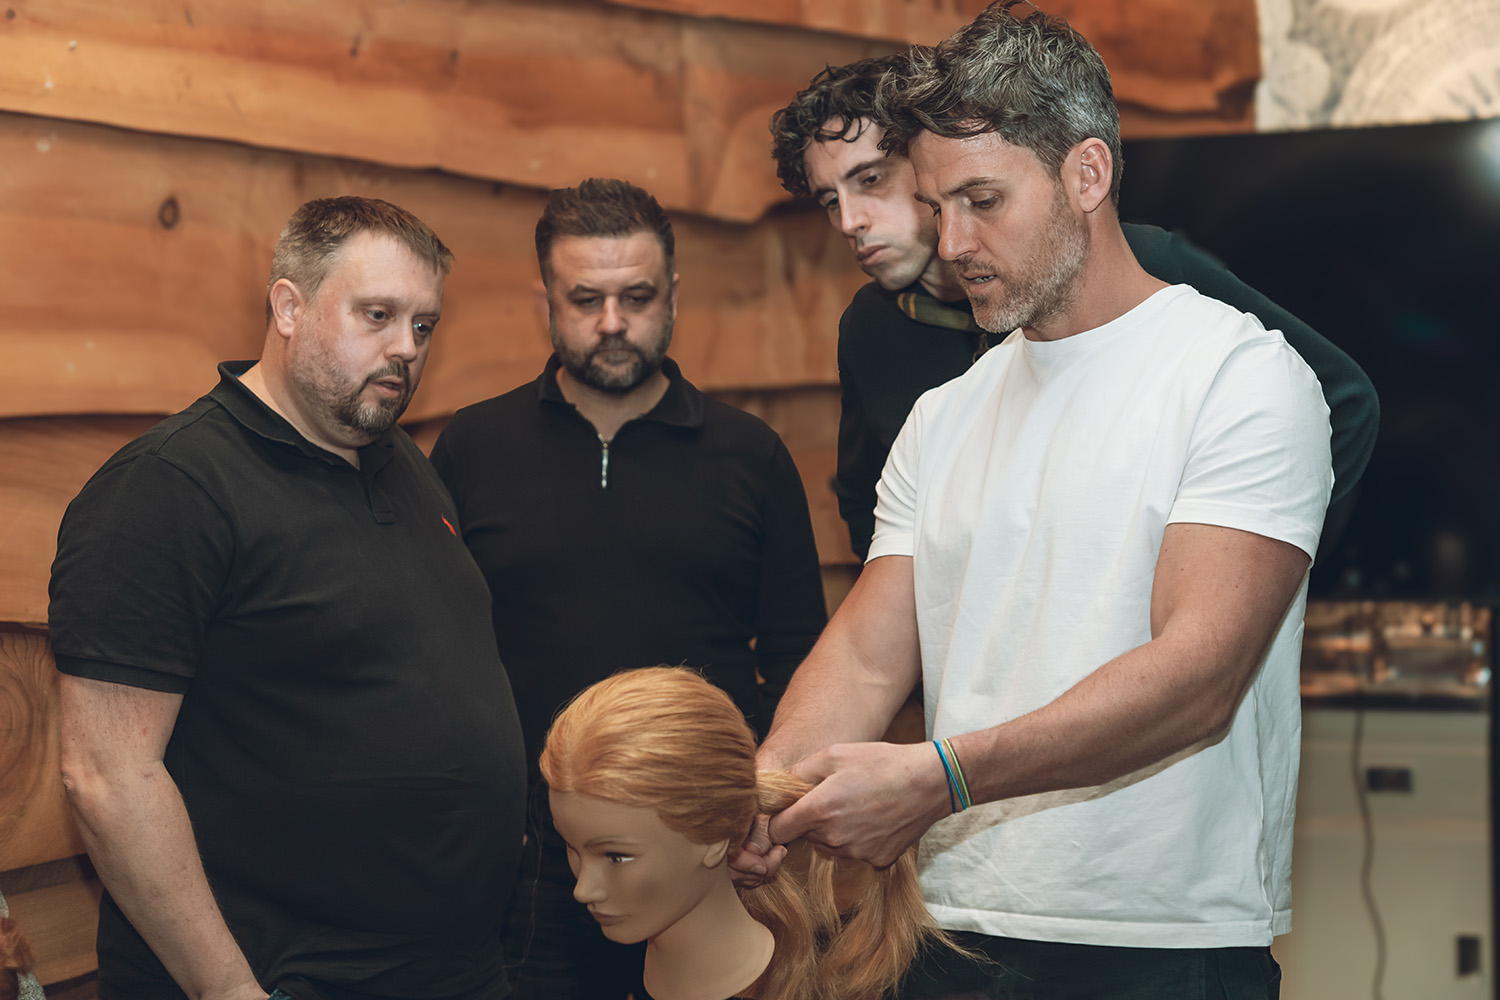
HJ Voicenotes: Keisha Moore on the Future of Wigs
Industry News
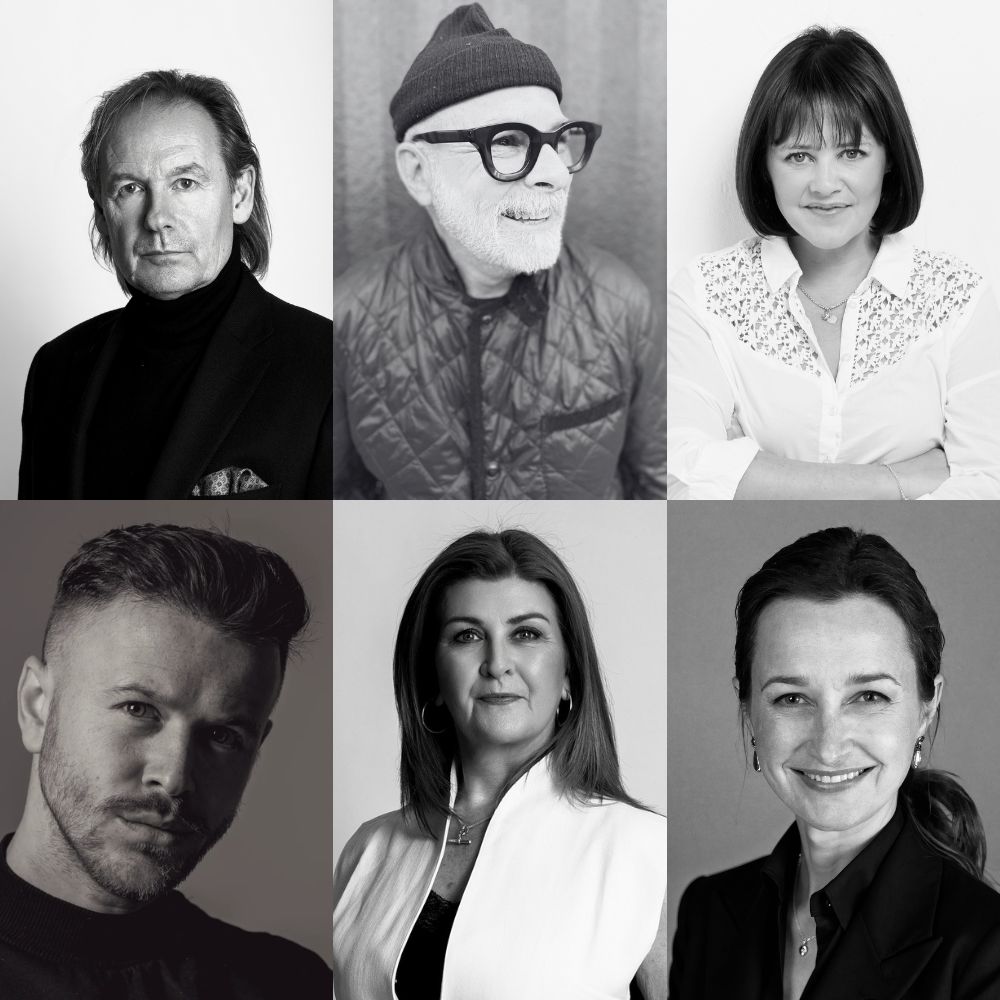
The Fellowship for British Hairdressing Announces the Fellowship Senior Leadership Team
business
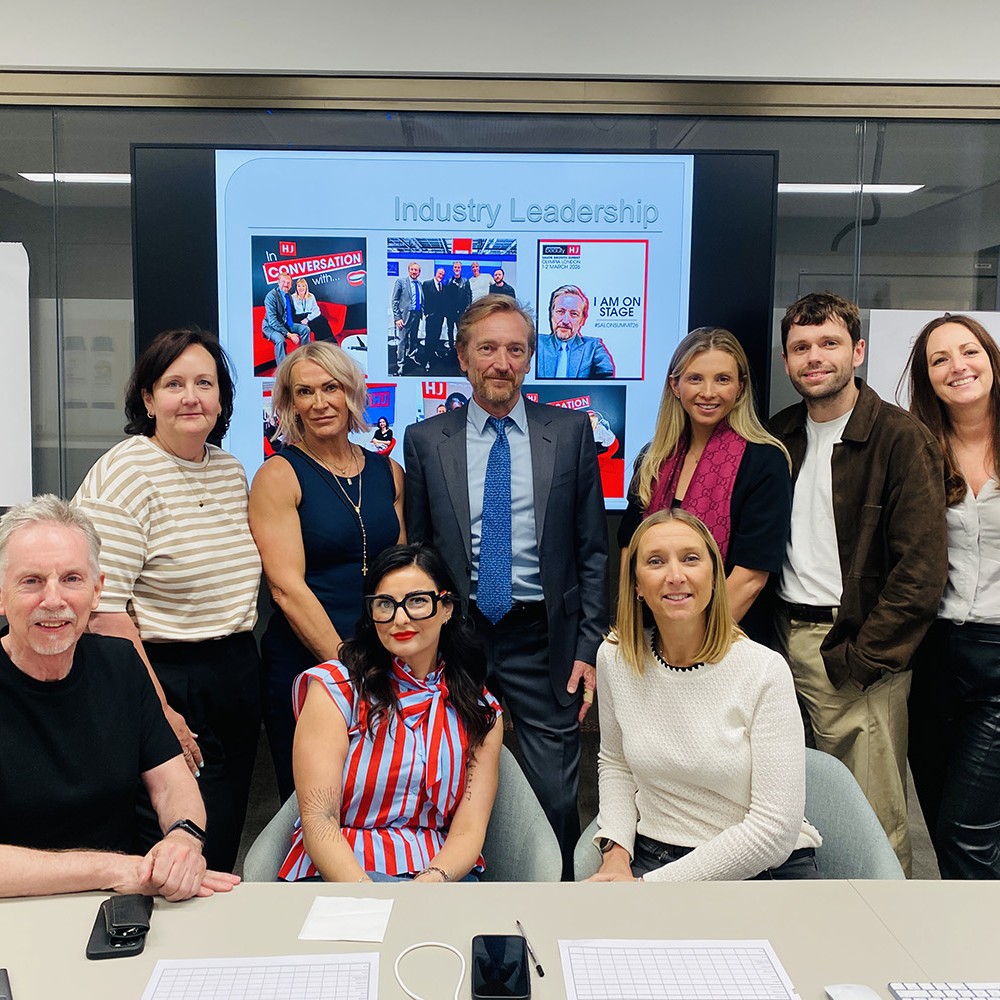
HJ’s Business Boardroom: Why Marketing is Essential in Business
Industry News
Pivot Point Collaborate with Pints & Ponytails
business
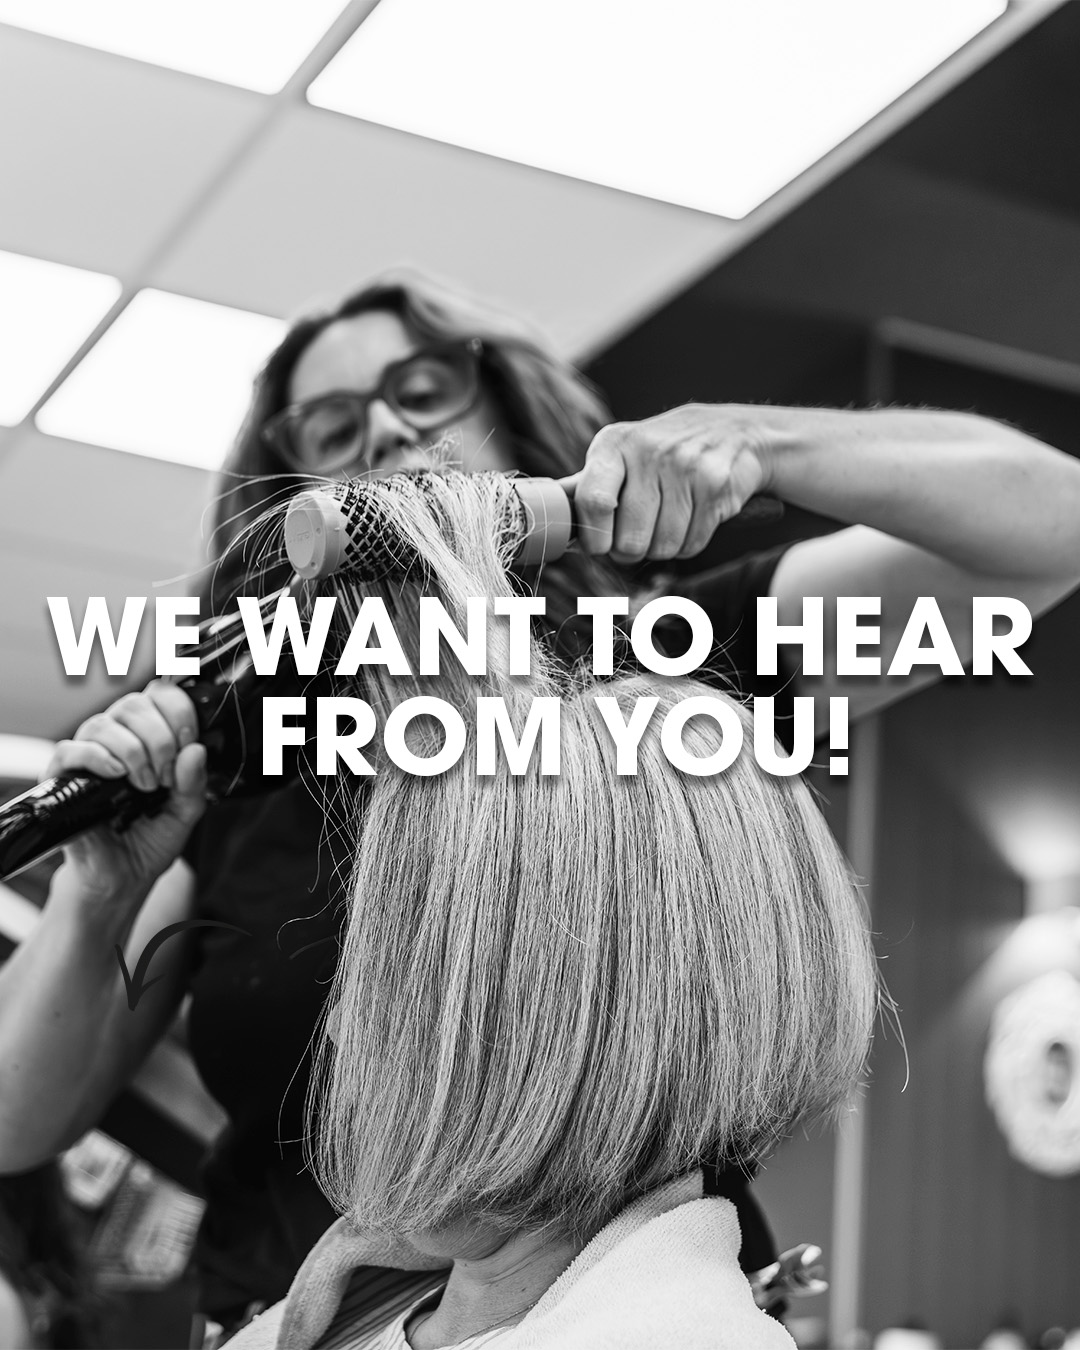
HJ Wants to Hear From You – Take Part in the HJ Insider Survey
View More
Industry News
Fellowship Creative XChange Visits Winchester For First Time
Latest News
The Core Principles of a Successful Salon Business
Latest News
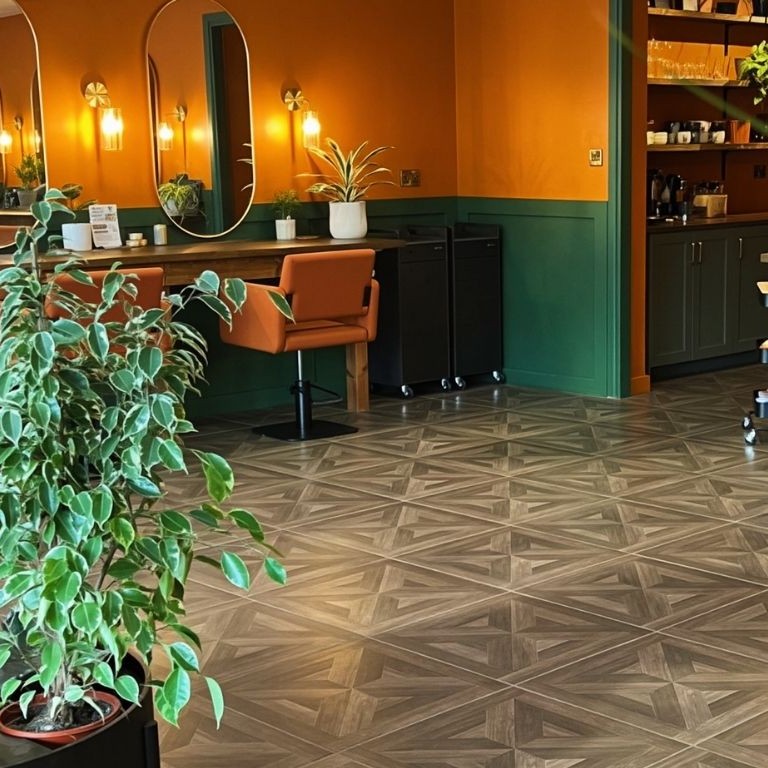
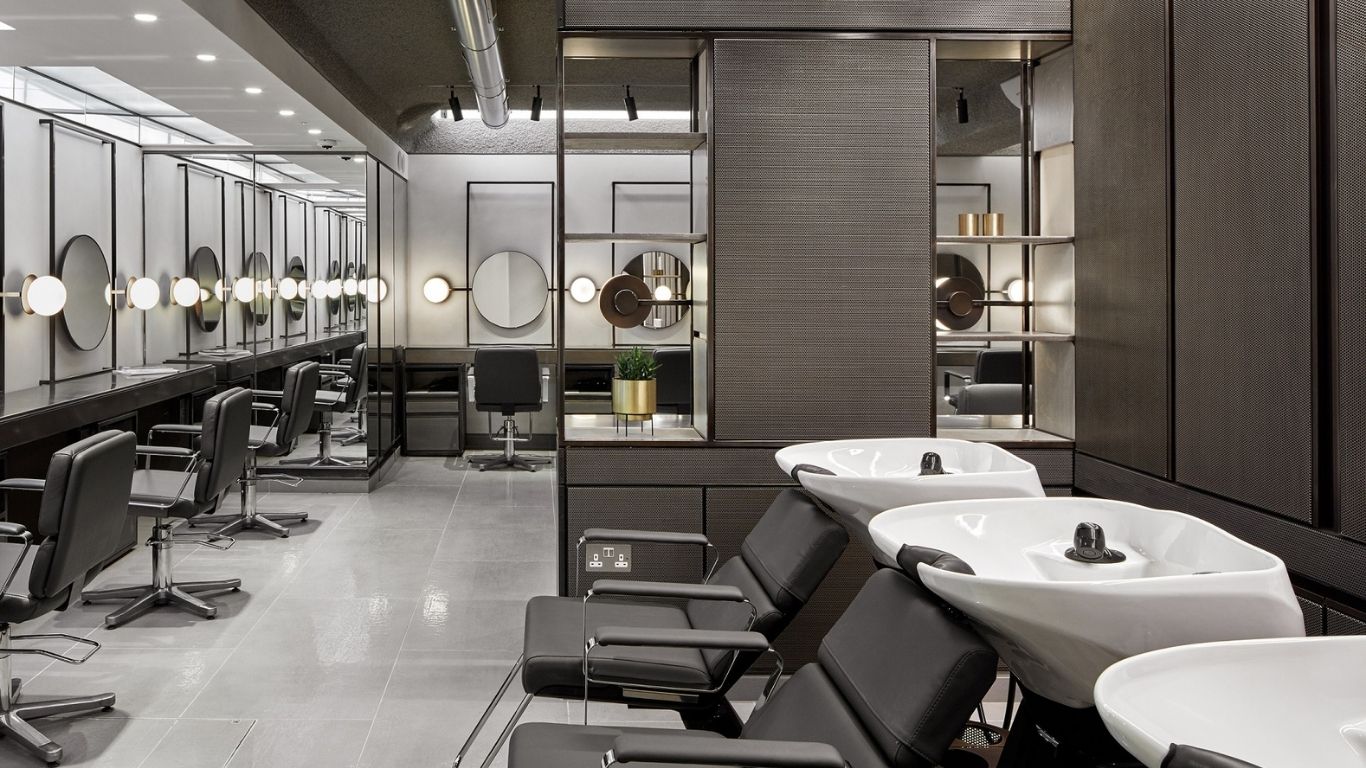
Studio U: A Vibrant Co-Working Salon in Winchester
Latest News
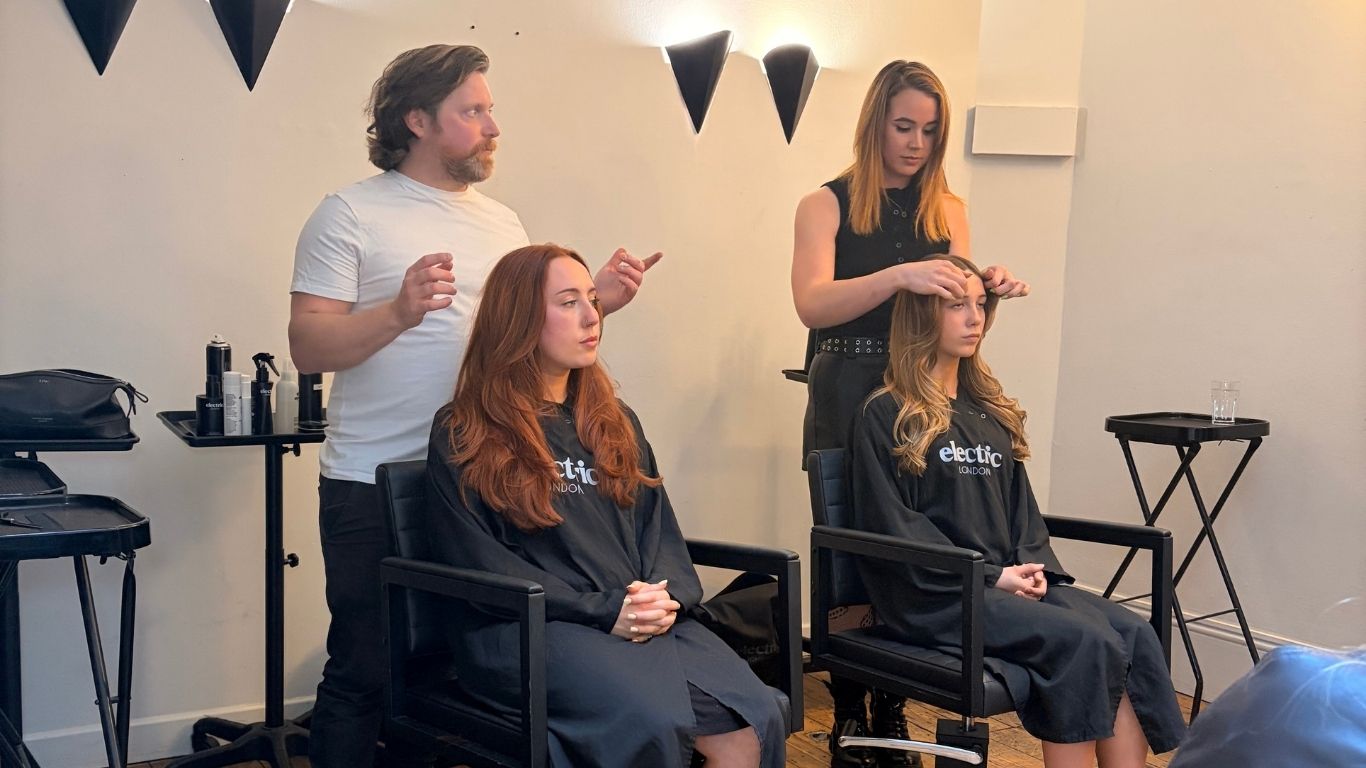
Electric Sessions with Calligraphy Cut
Industry News
Salon International: Salon Masterclasses for 2026
Colour
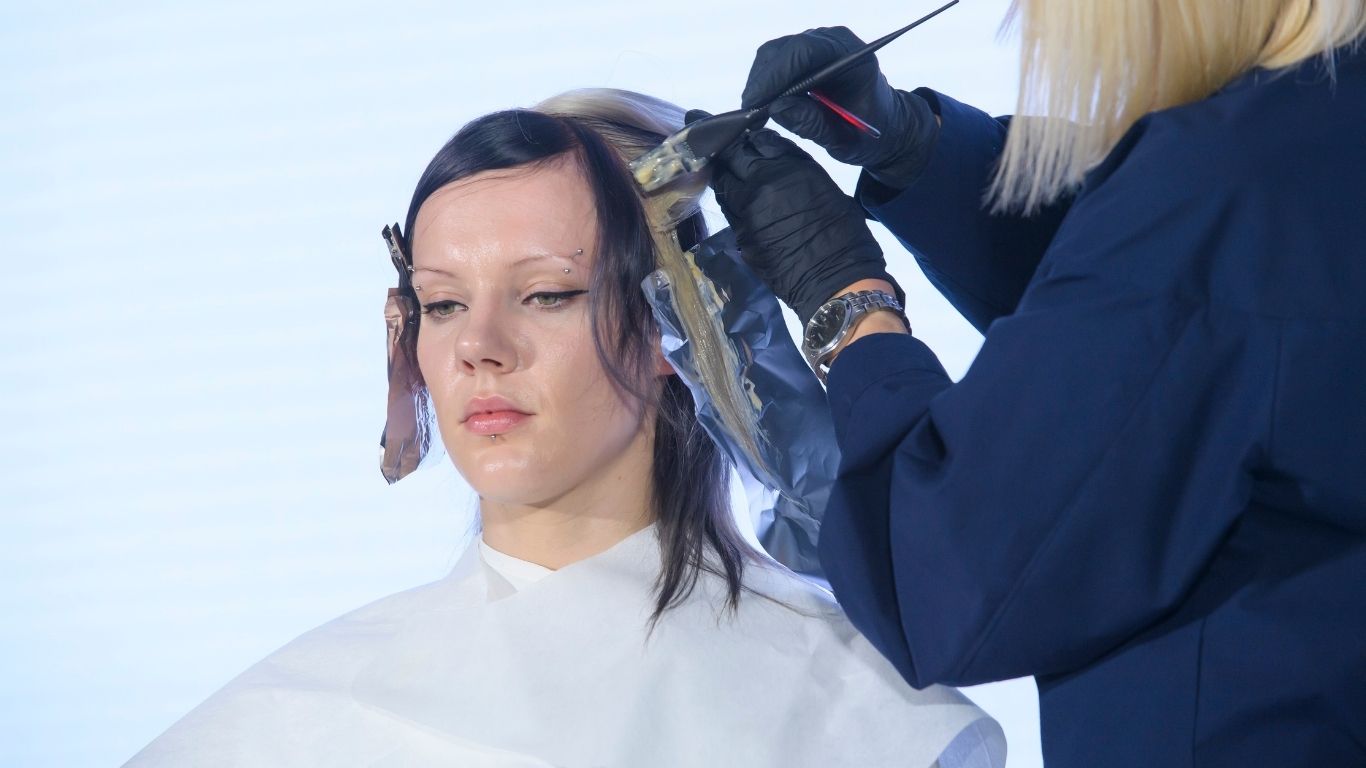
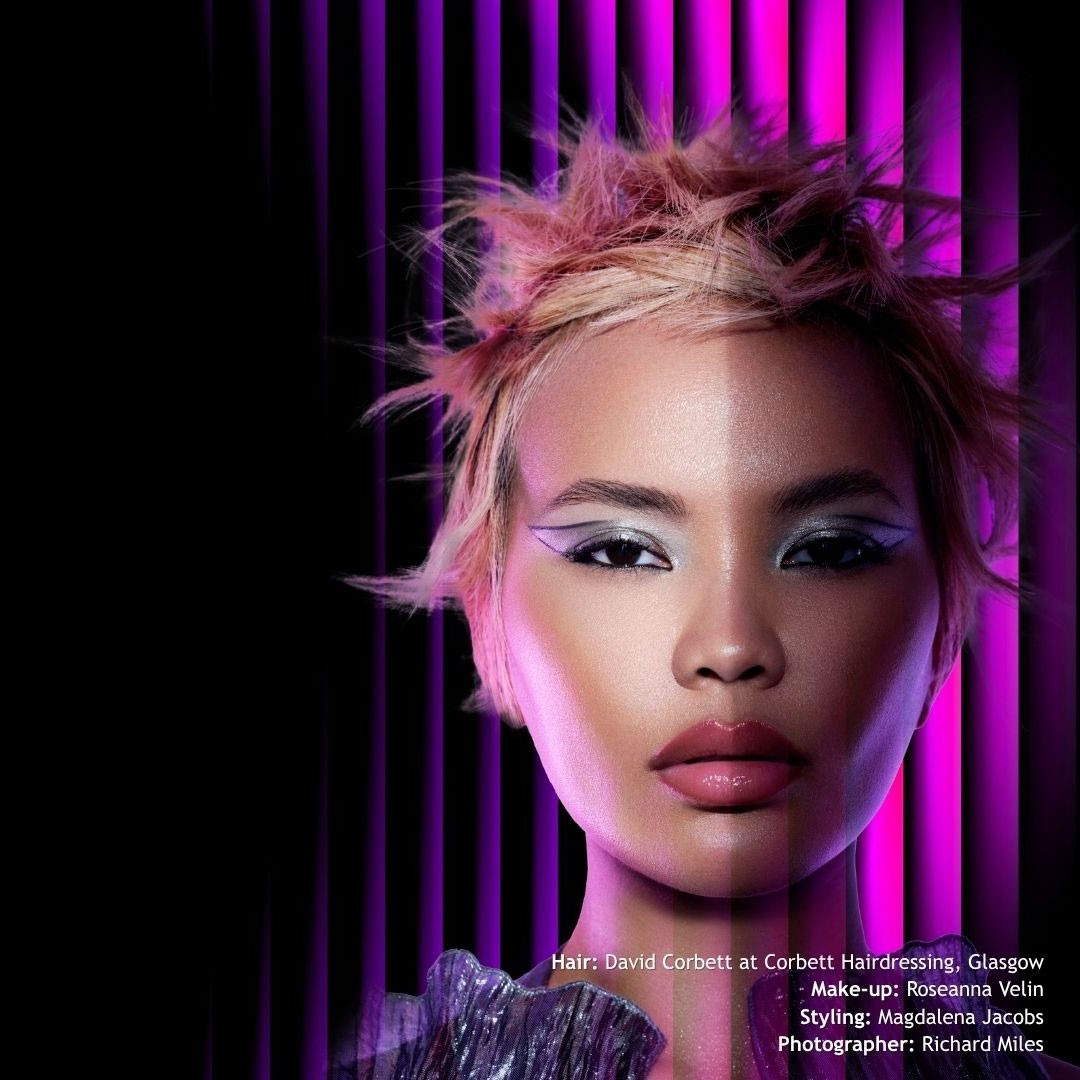
Grey Blending: The Colour Service on Everyone's Lips
Industry News
Remi Cachet Reveals New Expert Panel, Amplifying Pro-to-Pro Communication
Latest News
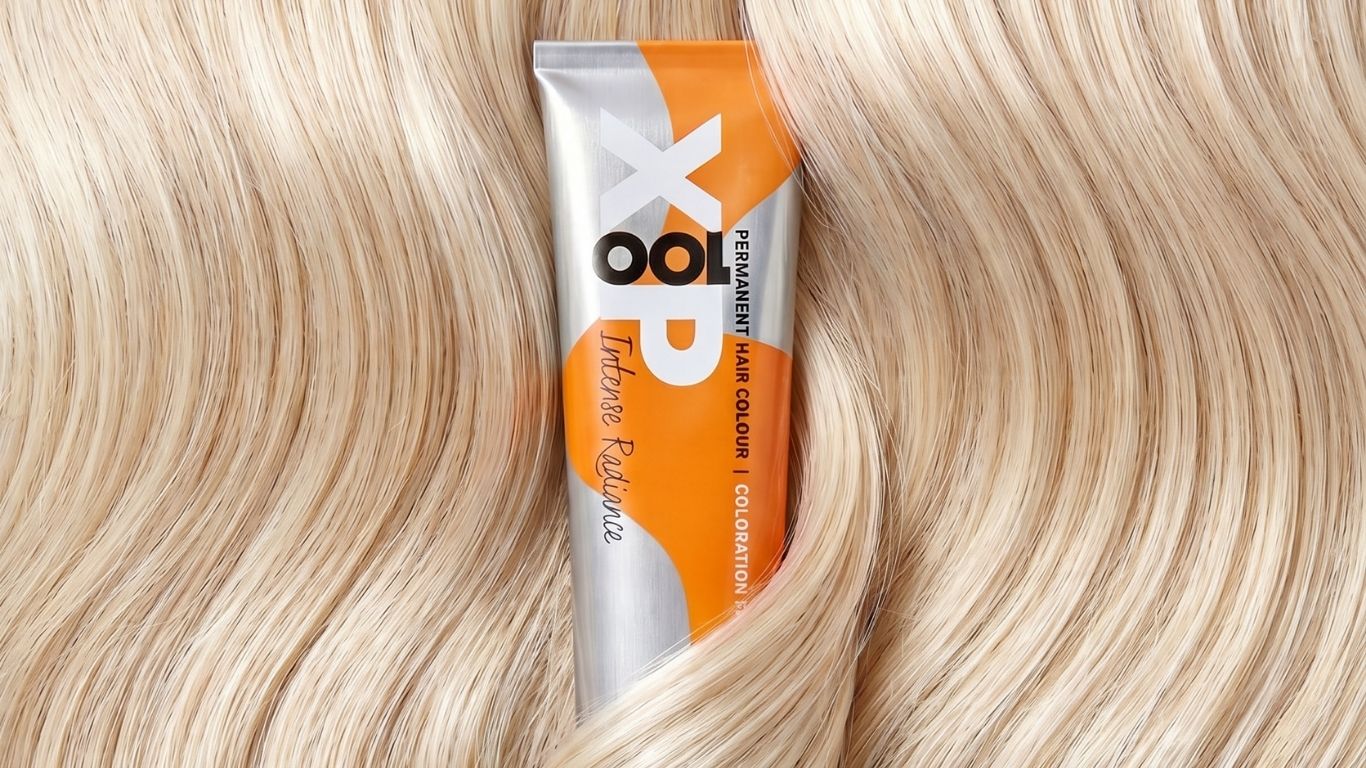
Reliable, Radiant and Customisable Colour with XP
Hot Topics
Salon International 2026 Early Bird Tickets Are Now LIVE: Secure Your Spot at the UK’s Biggest Hairdressing Event
Latest News
HJ Voicenotes: Bobby Gordon on the Importance of Team Building in Business
Latest News
Philip Kingsley Launches into Nicola Clarke Salon, Elevating its Presence Within the Professional Hairdressing Community
Latest News
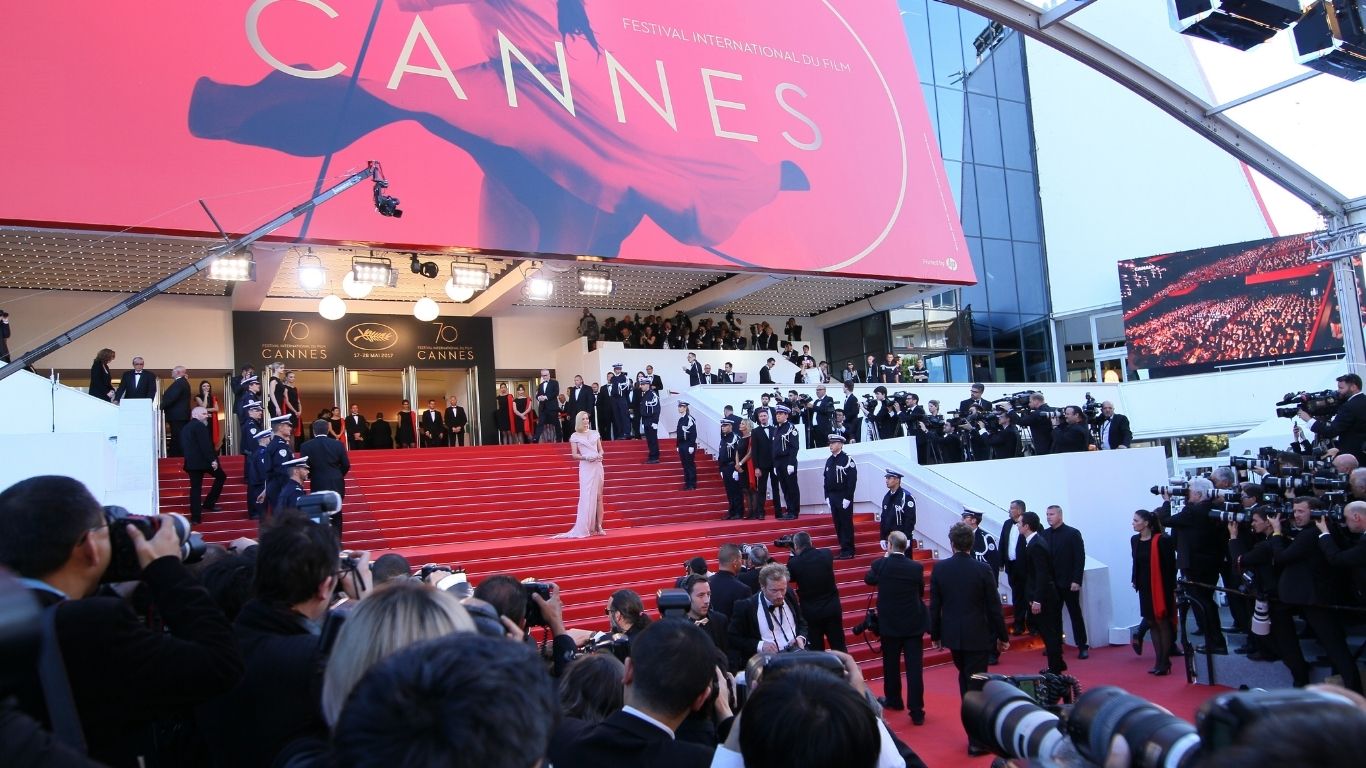
The Best Hair Looks at the Cannes Film Festival
Load More
Have all the latest news delivered to your inbox
Sign up
About us
Log in
Register
Leeds Summit
Leeds Regional Growth Summit
Gallery
Collection of the Week
Bob
Blondes
#BHA25
Copper
Curls
Creative
Cuts & Styles
Colours
Textured Hair
Bridal
Celebrity Hair
Step-by-Steps
Men's Hair
Business
LISTEN: HJ in Conversation With Podcast
Running A Salon
Colour Technician
Stylist 101
Barber Focus
How To Be A Freelancer
Apprentice Life
Hot Topics
Launches + Competitions
Industry News
Salon Marketing
Hair Trends
Sustainability In The Salon
Salon Interiors
Awards & Events
Regional Growth Summits
Salon Growth Summit
Salon International
Professional Beauty Hair Ireland
British Hairdressing Business Awards
British Hairdressing Awards
Shop
Salon Supplies
Insurance
Latest Offers
Salon Furniture
Subscriptions
You must be a member to save and like images from the gallery.
Email
Password
Login
Home
Leeds Summit
Gallery
Creative
Business
Hot Topics
Awards & Events
Shop
About us
Magazine
All Leeds Summit
Leeds Regional Growth Summit
All Gallery
Collection of the Week
Bob
Blondes
#BHA25
Copper
Curls
All Creative
Cuts & Styles
Colours
Textured Hair
Bridal
Celebrity Hair
Step-by-Steps
Men's Hair
All Business
LISTEN: HJ in Conversation With Podcast
Running A Salon
Colour Technician
Stylist 101
Barber Focus
How To Be A Freelancer
Apprentice Life
All Hot Topics
Launches + Competitions
Industry News
Salon Marketing
Hair Trends
Sustainability In The Salon
Salon Interiors
Regional Growth Summits
Salon Growth Summit
Salon International
Professional Beauty Hair Ireland
British Hairdressing Business Awards
British Hairdressing Awards
All Shop
Salon Supplies
Insurance
Latest Offers
Salon Furniture
Subscriptions
Cookie Settings